 Leo
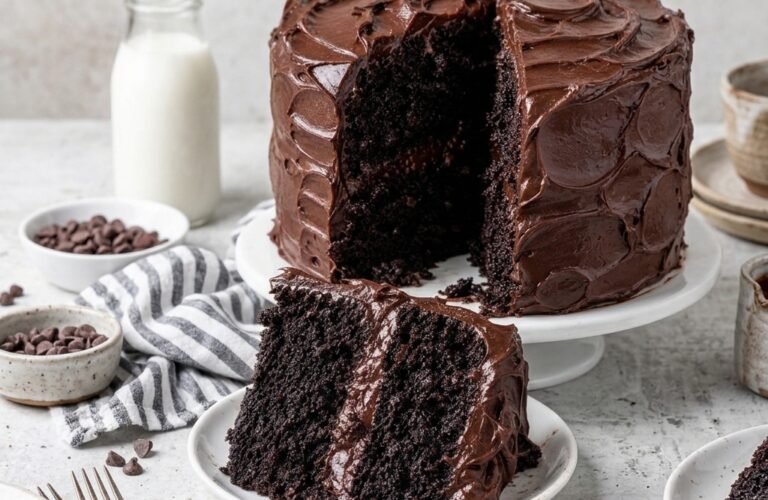
Bakery Chocolate Cake Recipe is exactly what you need when you are finally sick of pretending that a boxed mix tastes “just as good” as the real thing. It doesn’t. A true bakery-level chocolate cake is an aggressive, pitch-black structural masterpiece that relies on hot liquid and high-quality cocoa to build a crumb so incredibly tender that it almost falls apart under its own weight. This is not a dense, chewy brownie, nor is it a dry, airy sponge. It is the flawless middle ground.
I pull this exact recipe out when I am baking for someone I actually like, and I need them to know I didn’t cut any corners. If you are entirely exhausted and just want to throw dry powder into a pan, you should pivot immediately to my Easy Gooey Chocolate Dump Cake Recipe. If you want something dense with fruit instead of a standard crumb, go bake the Cherry Chocolate Dream Cake. But if you are ready to build a towering, two-layer chocolate masterpiece that requires you to actively boil coffee, preheat your oven and grab two 8-inch pans right now.
🎂 Bake Time · Layer Cake · 12 Massive Slices
Prep time: 20 min · Bake time: 35 min · Calories: 580 kcal
The Nutrition Breakdown
We are building a massive two-layer cake that relies heavily on vegetable oil for moisture and buttermilk for tenderness. Then, we are burying it in pure butter frosting. Do not look for dietary redemption here. Here is the estimated breakdown per heavy slice:
- Calories: 580
- Protein: 6g
- Carbohydrates: 78g
- Dietary Fiber: 4g
- Total Sugars: 58g
- Fat: 28g
- Saturated Fat: 12g
- Sodium: 410mg
Do not attempt to make this “healthy” by swapping the vegetable oil for applesauce. Applesauce works beautifully in some cakes, like my Delicious Low Calorie Dairy Free Birthday Cake, but in this specific recipe, removing the liquid fat will cause the heavy cocoa powder to seize. Your cake will bake into a tough, dry, rubbery disk. Use the oil.
The “Boiling Coffee” Mandate
This is the single most critical rule of baking a dark chocolate cake. If you skip this, your cake will taste like dusty cardboard.
Cocoa powder is essentially just dry, bitter dust. If you simply whisk it into cold eggs and milk, it never fully dissolves. It remains grainy, and the chocolate flavor stays flat and incredibly weak.
You must physically “bloom” the cocoa powder. You have to dump a massive cup of screaming hot, boiling black coffee directly into the batter as the absolute final step. The intense heat of the boiling liquid violently attacks the cocoa powder, instantly dissolving the starches and releasing the deeply trapped, rich, dark chocolate oils. The coffee itself does not make the cake taste like a latte; it acts as a chemical flavor amplifier that makes the chocolate taste aggressively darker.
The Ingredient Lineup
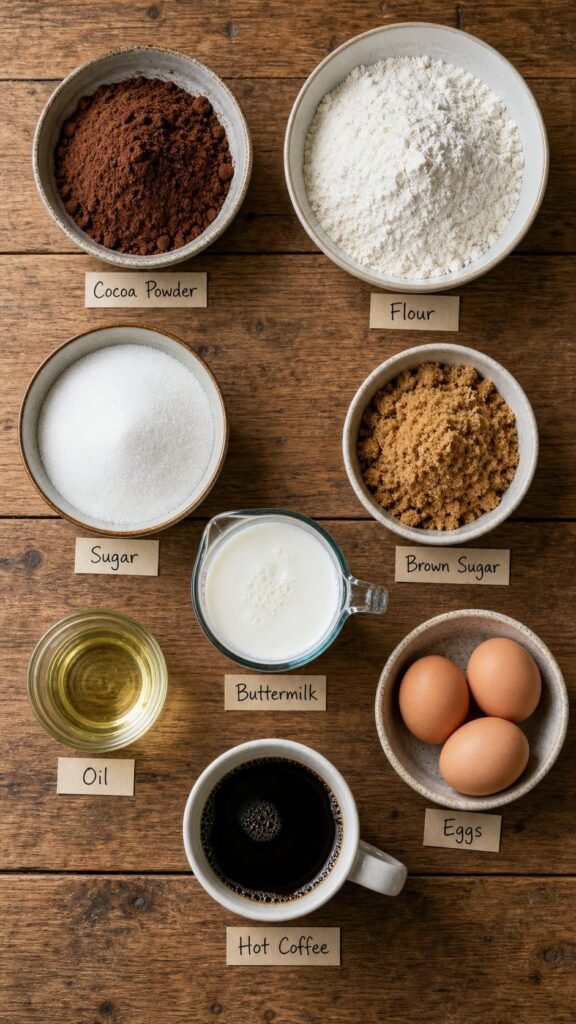
The Pitch-Black Batter:
- 2 cups all-purpose flour
- 2 cups granulated white sugar
- 3/4 cup high-quality unsweetened cocoa powder (Dutch-process preferred)
- 2 teaspoons baking powder
- 1 1/2 teaspoons baking soda
- 1 teaspoon fine sea salt
- 1 cup full-fat buttermilk, room temperature
- 1/2 cup neutral vegetable oil (or canola oil)
- 2 large eggs, room temperature
- 2 teaspoons pure vanilla extract
- 1 cup screaming hot, boiling black coffee (or boiling water)
The Bakery Buttercream:
- Use exactly one batch of my The Best Chocolate Buttercream Frosting (6-Minute Recipe) You’ll Ever Make
The Cocoa Warning: Do not buy generic, pale brown cocoa powder for this. Generic cocoa is highly acidic and weak. You must buy a premium, dark “Dutch-process” cocoa powder. Dutch-process cocoa has been washed in an alkaline solution to neutralize the acid, which produces a much smoother, significantly darker, midnight-black cake crumb.
Whisk, Pour, Bake, Swoop
1. Prep the armor.
Preheat your oven to 350°F (175°C). You need two 8-inch round metal cake pans (make sure they have at least 2-inch tall walls). Aggressively grease them with butter and line the absolute bottoms with a perfect circle of parchment paper. If you skip the parchment, the high-sugar, wet batter will permanently glue itself to the bottom of the pan.
2. Whisk the dry.
In a massive glass mixing bowl, fiercely whisk the flour, white sugar, cocoa powder, baking powder, baking soda, and salt. You must whisk this for at least a minute to ensure the baking soda is evenly distributed, or your cake will rise lopsided.
3. The Wet Emulsion.
In a separate medium bowl, vigorously whisk the room-temperature buttermilk, the vegetable oil, the room-temperature eggs, and the vanilla extract. Pour this wet mixture directly into the dry chocolate flour. Use a heavy wooden spoon to mix it just until it forms a thick, dark paste.
4. The Boiling Shock.
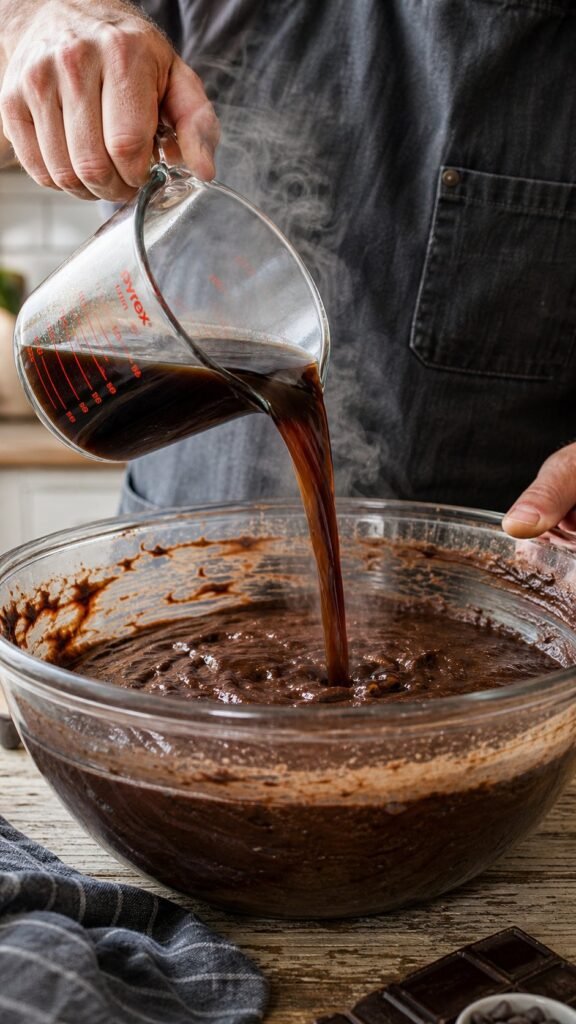
Put a cup of strong black coffee in the microwave until it is violently boiling. Slowly and carefully, pour the screaming hot coffee directly into the thick chocolate paste.
Whisk it constantly while you pour. The batter will transition from a heavy paste into a very thin, watery, pitch-black soup. Do not panic. This thin liquid is the exact secret to a moist bakery crumb.
5. The Bake.
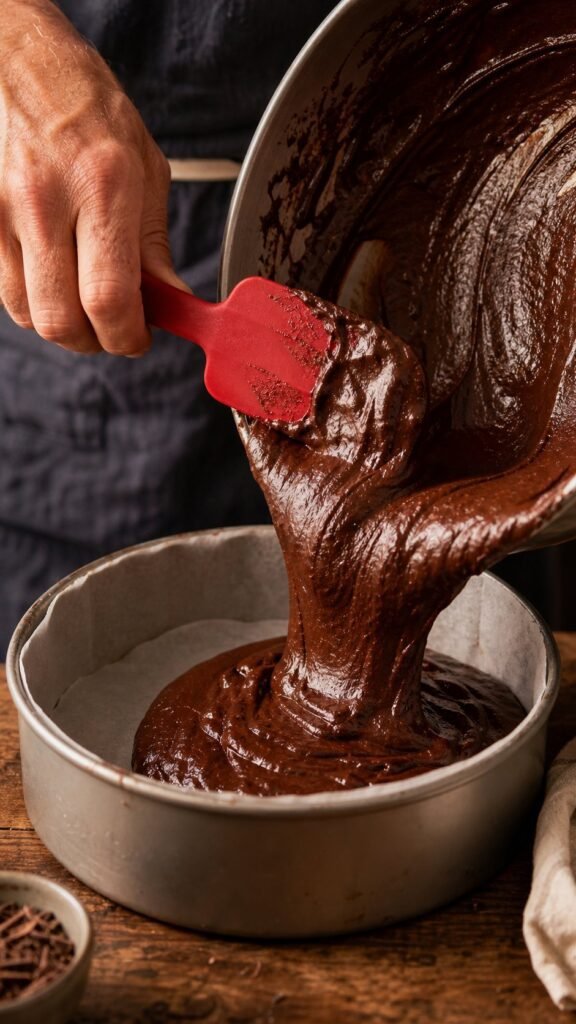
Divide the watery batter evenly between the two prepared 8-inch pans. Carefully transfer them to the 350°F oven.
Bake for exactly 30 to 35 minutes. A toothpick inserted into the dead center must come out clean. Pull the pans out of the oven. Do not touch the cakes for 15 minutes. They are incredibly fragile when hot. After 15 minutes, flip them out onto a wire rack. They must be freezing cold before you frost them.
6. The Frosting Assembly.
Whip up a massive batch of the chocolate buttercream linked above.
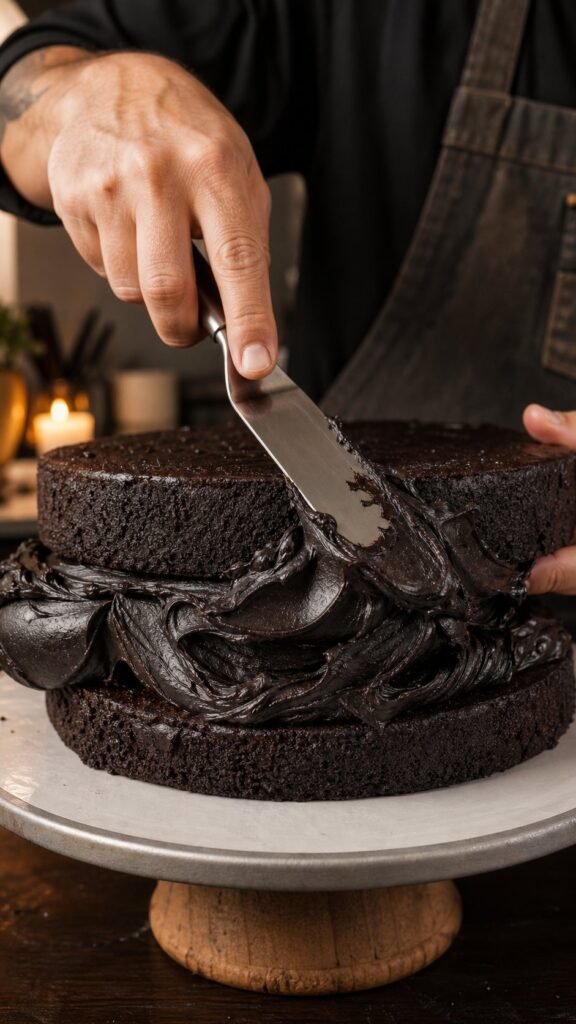
If your cakes domed in the oven, take a large serrated bread knife and saw the rounded tops off so the layers are perfectly flat. Place the first layer on a cake stand. Drop a massive, half-inch thick layer of frosting over it. Stack the second cake layer directly on top.
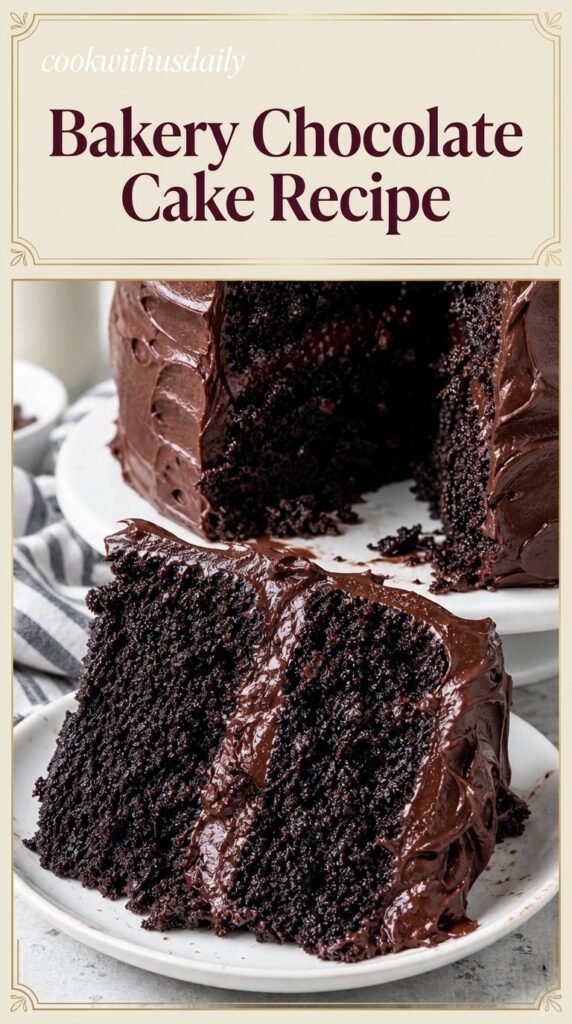
Use a silver offset spatula to forcefully swoop the remaining frosting all over the top and sides of the cake. Do not make it perfectly smooth. Leave deep, aggressive ridges and waves so it looks exactly like a rustic slice from a high-end pastry case.
My Ultimate Cake Disasters
The first time I attempted this recipe, I ignored the room-temperature buttermilk rule. I poured freezing cold buttermilk directly into the batter. The cold milk prevented the eggs and oil from properly emulsifying, and it dramatically lowered the temperature of the batter before it went into the oven. The cake took over an hour to bake, and the crumb turned out dense, rubbery, and incredibly heavy. You absolutely must leave the dairy on the counter for two hours before mixing.
My second massive failure was being too impatient during the cooling process. I tried to frost the cake layers while they were still slightly warm to the touch. The residual heat from the dark chocolate sponge instantly melted the butter in my frosting. The thick, fluffy buttercream turned into a slick, glossy, wet glaze, and the top cake layer literally hydroplaned off the bottom layer and crashed onto my kitchen counter. You must wait until the cake is 100% cold.
Frequently Asked Questions (FAQ)
Why did my cake sink entirely in the middle when I pulled it out?
You opened the oven door too early. This cake batter is highly liquid, which means it relies heavily on the steam and the baking powder to physically lift the crumb. If you open the oven door at the 15-minute mark to peek at it, the blast of cold air immediately kills the rise. The structure collapses, leaving you with a raw, sunken crater in the center. Keep the door shut for at least 30 minutes.
What if I don’t drink coffee? Can I use boiling water instead?
Yes, absolutely. The chemistry of the cake relies on the heat of the liquid to bloom the cocoa powder, not the coffee itself. You can easily swap the 1 cup of boiling coffee for 1 cup of screaming hot, boiling water. However, the coffee does aggressively enhance the dark chocolate flavor, so if you use water, the chocolate profile will be slightly milder.
How do I store this massive cake without it drying out?
Because this cake uses oil instead of butter in the batter, it stays incredibly moist for days. Do not put it in the refrigerator! The cold air in the fridge will actively pull moisture out of the crumb, making it taste dry and stale. Keep the entire cake on your kitchen counter under a glass cake dome, or press plastic wrap directly against the cut edges. It will stay soft for up to 4 days.
Flavor Variations and Upgrades
The Peanut Butter Fudge Layer: If you want a massive contrast in the center, do not put chocolate buttercream between the two cake layers. Instead, whip 1/2 cup of creamy peanut butter with 1 cup of powdered sugar and 2 tablespoons of milk until fluffy. Use the peanut butter frosting strictly as the filling between the layers, and frost the outside of the cake with the dark chocolate buttercream.
The Raspberry Dark Chocolate: Cherry isn’t the only fruit that pairs with dark chocolate. Buy a jar of premium, tart raspberry preserves. Spread a thick layer of the preserves directly over the bottom cake layer before you add the frosting. When you slice the cake, the sharp, acidic bite of the bright red raspberry perfectly cuts through the massive sugar load of the chocolate.
The Mocha Crunch: If you used boiling coffee in the batter and want to lean heavily into the mocha flavor, add 1 tablespoon of instant espresso powder directly into the chocolate buttercream frosting. Right after you frost the outside of the cake, forcefully press 1/2 cup of crushed, chocolate-covered espresso beans into the sides of the wet frosting to create an aggressive, bitter crunch.
Cook With Us Daily · Bakery Chocolate Cake — 12 slices · 580 kcal each
🎂 Cook With Us Daily · Layer Cake
Bakery Chocolate Cake
Ingredients
01The Pitch-Black Batter
The Bakery Buttercream
Kitchen Tools
02Directions
03Prep the Armor
Preheat the oven to 350°F (175°C). Grease two 8-inch round metal cake pans (at least 2-inch tall walls) with butter and line the bottoms with a perfect circle of parchment paper. If you skip the parchment, the high-sugar, wet batter permanently glues itself to the bottom of the pan.
Whisk the Dry
In a massive glass mixing bowl, fiercely whisk the flour, white sugar, cocoa powder, baking powder, baking soda, and salt for at least a full minute so the baking soda is evenly distributed — otherwise the cake rises lopsided.
The Wet Emulsion
In a separate medium bowl, vigorously whisk the room-temperature buttermilk, the vegetable oil, the room-temperature eggs, and the vanilla. Pour the wet mixture directly into the dry chocolate flour and use a heavy wooden spoon to mix just until it forms a thick, dark paste.
The Boiling Shock
Heat a cup of strong black coffee until it is violently boiling. Slowly and carefully pour the screaming hot coffee into the thick chocolate paste as the absolute final step, whisking constantly. The batter will go from a heavy paste into a very thin, watery, pitch-black soup — do not panic: this thin liquid is the exact secret to a moist bakery crumb. The boiling liquid blooms the cocoa, dissolving the starches and releasing the trapped dark chocolate oils; the coffee itself does not make the cake taste like a latte, it makes the chocolate taste aggressively darker.
The Bake
Divide the watery batter evenly between the two prepared pans and transfer them to the 350°F (175°C) oven. Bake for exactly 30 to 35 minutes, until a toothpick in the dead center comes out clean. Keep the oven door shut for at least 30 minutes — a peek lets in cold air that kills the rise and leaves a sunken crater. When the pans come out, do not touch the cakes for 15 minutes — they are incredibly fragile when hot. Then flip them out onto a wire rack. They must be freezing cold before you frost them — warm layers melt the buttercream into a slick glaze and the top layer hydroplanes off the bottom.
The Frosting Assembly
Whip up one batch of the linked chocolate buttercream. If the cakes domed, saw the rounded tops off with a large serrated bread knife so the layers are perfectly flat. Place the first layer on a cake stand, drop a massive half-inch-thick layer of frosting over it, and stack the second layer directly on top. Use an offset spatula to forcefully swoop the remaining frosting all over the top and sides. Do not make it perfectly smooth — leave deep, aggressive ridges and waves so it looks exactly like a rustic slice from a high-end pastry case.
Nutrition
04| Nutrient | Per slice (1 of 12) |
|---|---|
| Calories | 580 |
| Protein | 6 g |
| Carbohydrates | 78 g |
| Dietary Fiber | 4 g |
| Total Sugars | 58 g |
| Fat | 28 g |
| Saturated Fat | 12 g |
| Sodium | 410 mg |